You’ve decided to invest in a POE security camera system—great choice! POE (Power over Ethernet) systems are easy to install, reliable, and cost-effective, making them perfect for homeowners who want to secure their home without hiring a professional. Even if you’re not tech-savvy, you can install your own MWRCTV POE system in a few hours with this step-by-step guide. We’ll walk you through everything you need to do, from unboxing your MWRCTV POE kit to setting up your MWRCTV NVR and viewing your footage.
First, let’s gather the tools and components you’ll need. Most mid-range POE kits include all the necessary components, but it’s good to double-check before you start:
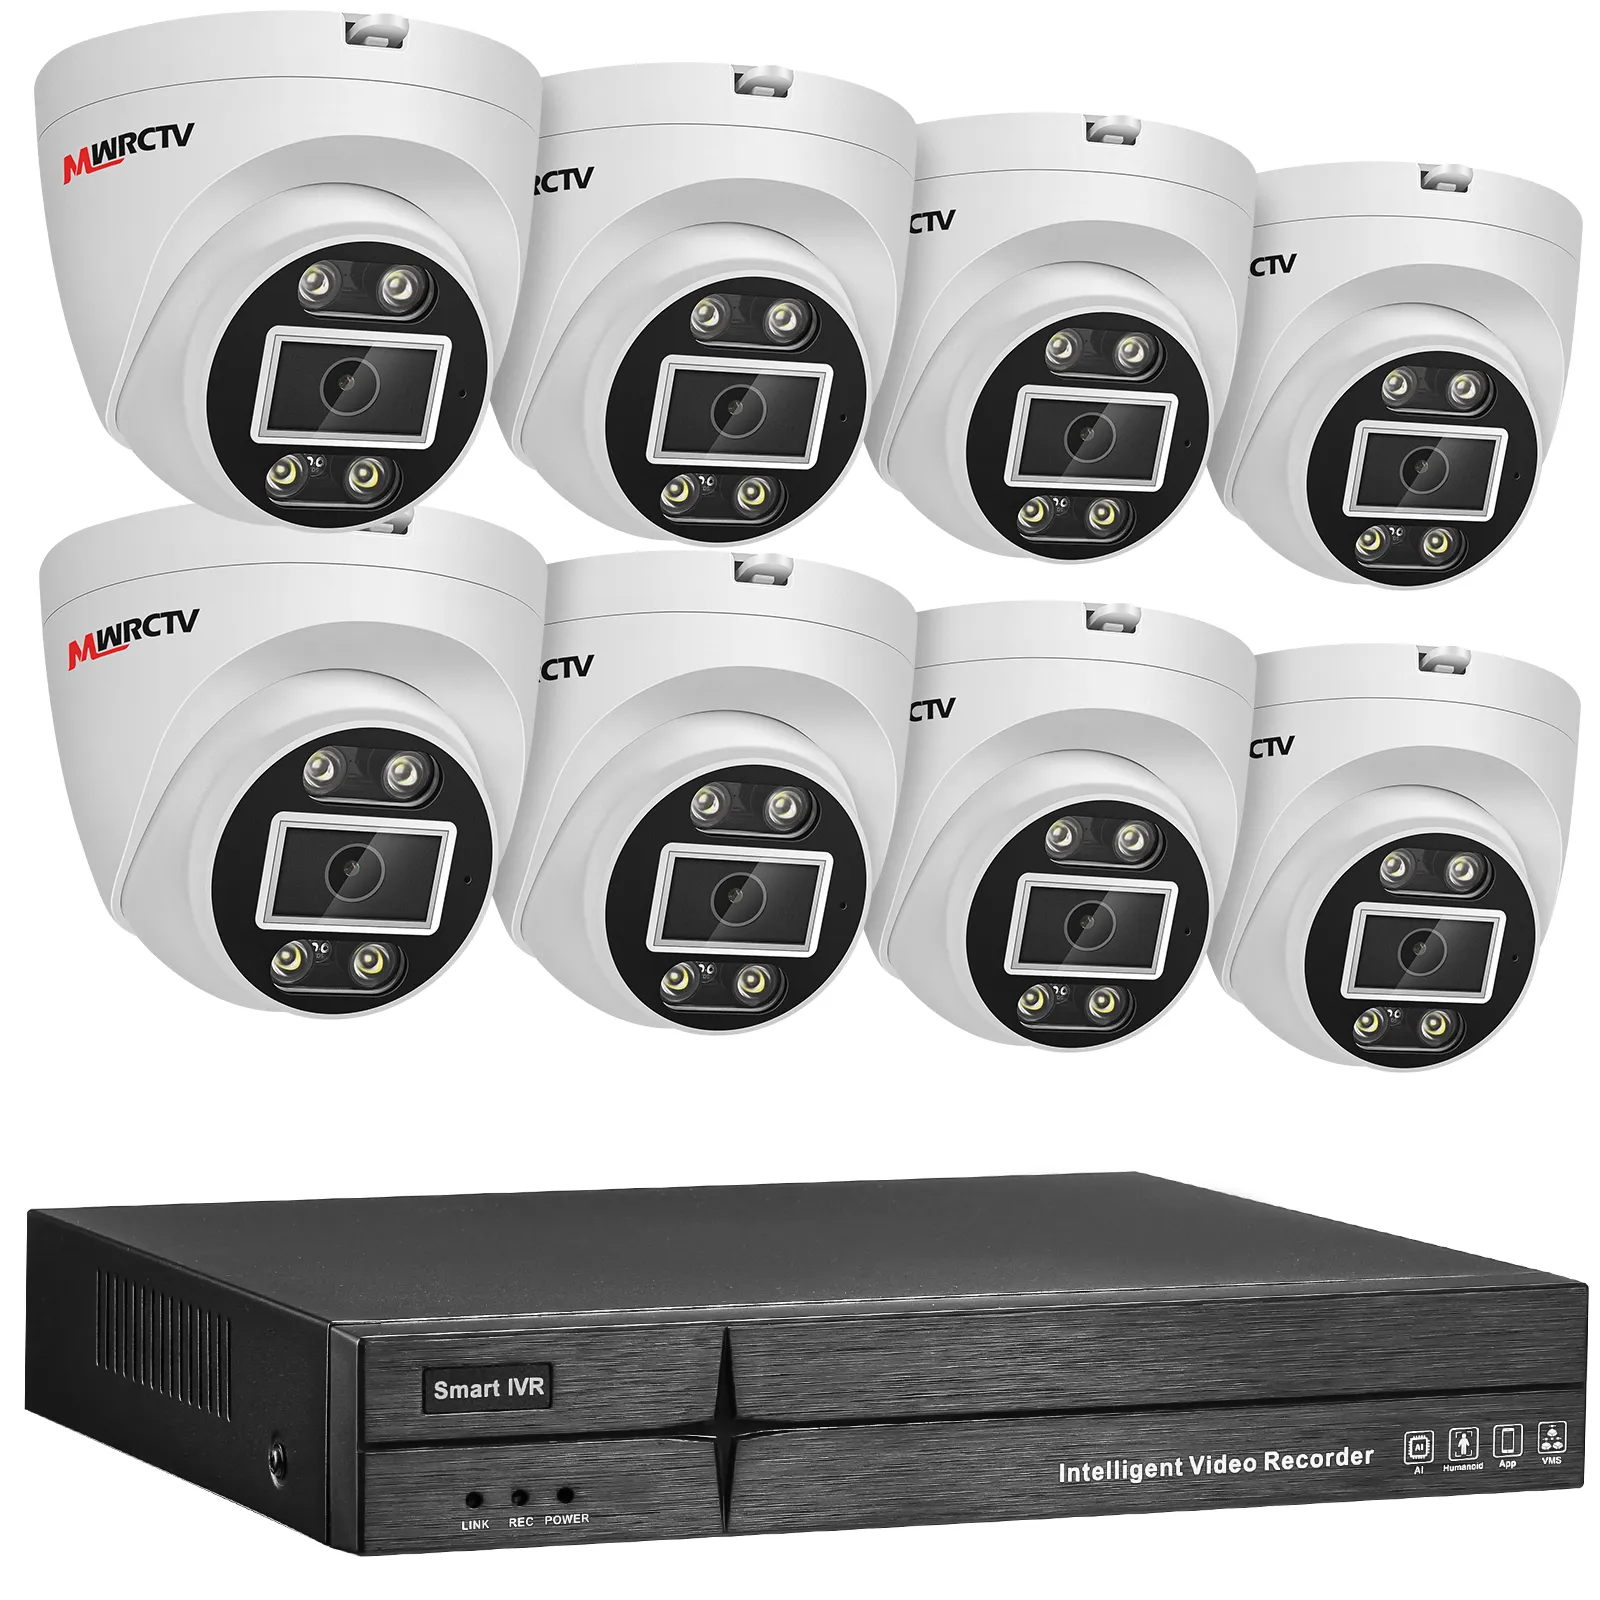
What You’ll Need (Included in Most POE Kits):
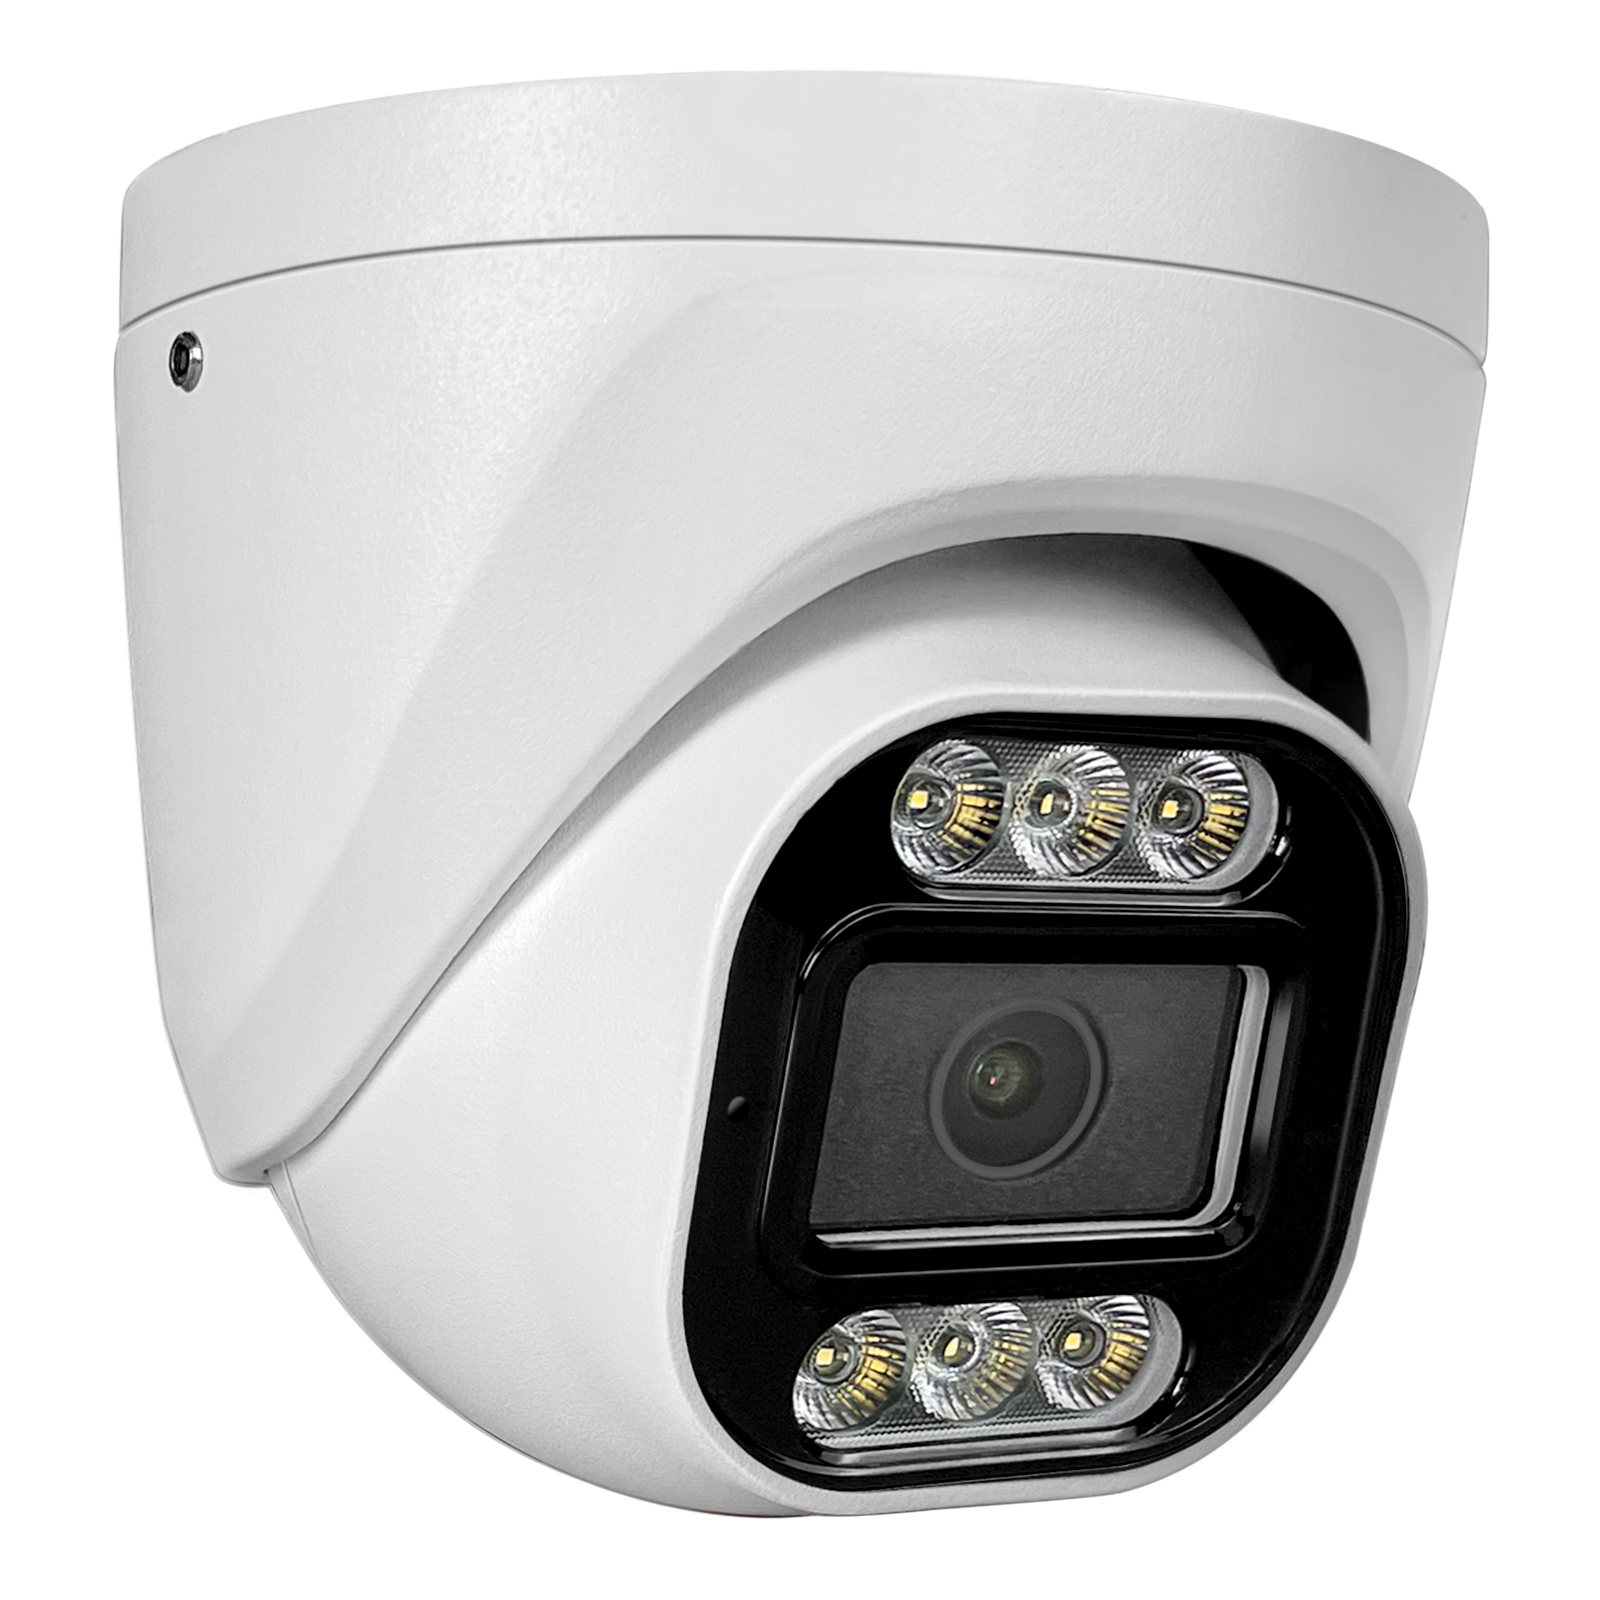
MWRCTV POE cameras (4 or 8, depending on your MWRCTV kit)
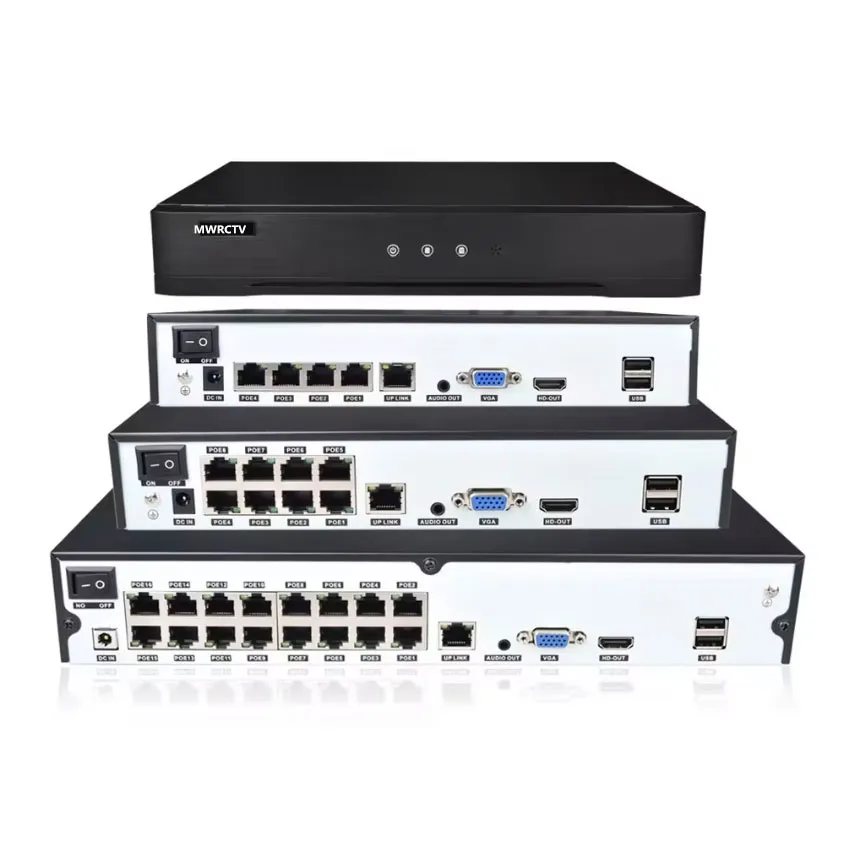
MWRCTV NVR (Network Video Recorder) with built-in POE ports
Ethernet cables (Cat5e or higher, 20 meters long)
Mounting screws
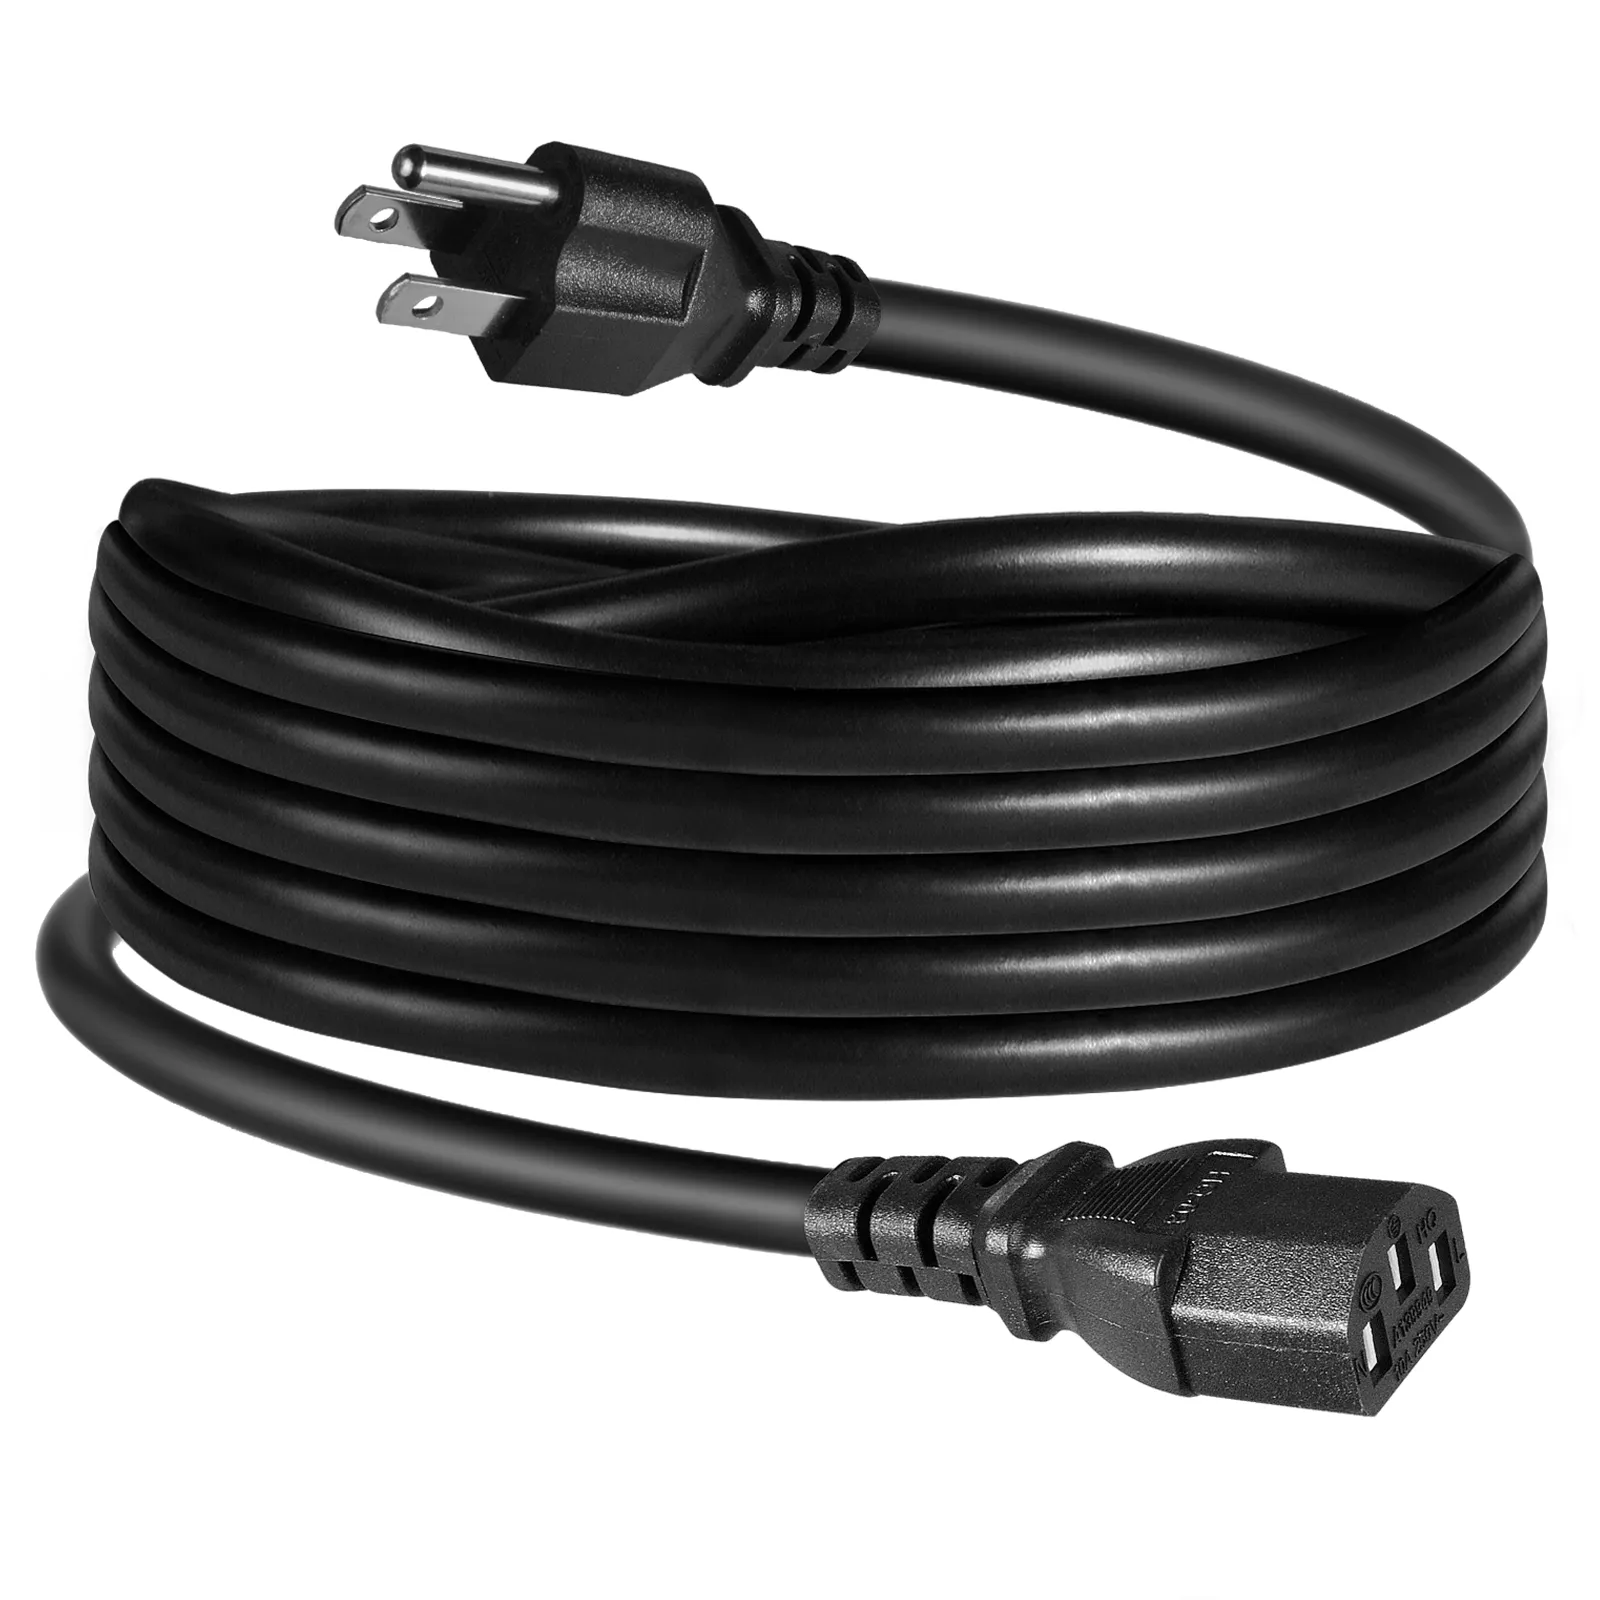
Power adapter for the MWRCTV NVR
Mouse (to control the MWRCTV NVR)
Optional tools (if not included): Drill, screwdriver, cable clips (to secure cables), and a ladder (for outdoor installation).
Step 1: Plan Your Camera Placement
Before you start installing, take a few minutes to plan where you’ll place your cameras. The goal is to cover all entry points (front door, back door, garage, windows) and any other areas you want to monitor (backyard, driveway, side of the house).
Here are some tips for camera placement:
Install cameras at least 2.5 meters (8 feet) high to prevent tampering.
Angle cameras to face entry points (doors, windows) directly, so you can clearly see who’s entering or exiting.
For outdoor cameras, choose a location that’s sheltered from direct rain or snow (even though POE cameras are weatherproof).
Make sure the Ethernet cable can reach from the camera to the NVR (POE cables can run up to 100 meters).
Once you’ve planned your camera placement, mark the spots where you’ll mount the brackets.
Step 2: Mount the Camera Brackets
Now it’s time to mount the brackets for your POE cameras. Follow these steps:
Hold the bracket against the wall (or ceiling) at the marked spot.
Use a drill to make holes for the screws (if needed—some walls may not require drilling, like wood).
Secure the bracket to the wall using the screws provided in the MWRCTV kit.
Repeat this process for all MWRCTV POE cameras.
Pro tip: If you’re installing cameras outdoors, use waterproof screws to prevent rust.
Step 3: Connect the POE Cameras to the NVR
This is the most important step—connecting your POE cameras to the NVR. Since POE cameras use a single Ethernet cable for power and data, this is simple:
Take one end of an Ethernet cable and plug it into the POE port on the back of the MWRCTV POE camera.
Take the other end of the cable and plug it into one of the POE ports on the back of the MWRCTV NVR. Most mid-range MWRCTV NVRs have 4 or 8 POE ports (one for each MWRCTV POE camera in the kit).
Repeat this process for all MWRCTV POE cameras. Make sure each MWRCTV POE camera is connected to a separate POE port on the MWRCTV NVR.
Once the MWRCTV POE cameras are connected, the MWRCTV NVR will automatically provide power to the cameras via the Ethernet cable. You’ll know the MWRCTV POE cameras are powered on if the LED light on the camera turns on.
Step 4: Set Up the NVR
Now it’s time to set up the NVR, which will store and display your camera footage. Follow these steps:
Connect the MWRCTV NVR to a monitor or TV using the HDMI cable provided. Plug one end of the HDMI cable into the HDMI port on the back of the MWRCTV NVR, and the other end into the HDMI port on your monitor/TV.
Plug the MWRCTV NVR’s power adapter into an electrical outlet, and turn on the MWRCTV NVR. The MWRCTV NVR will boot up automatically.
Connect the mouse to the USB port on the MWRCTV NVR. You’ll use the mouse to navigate the MWRCTV NVR’s menu.
Follow the on-screen setup wizard. The wizard will guide you through setting up a password (for security), formatting the hard drive (to store footage), and configuring basic settings (like date and time) on your MWRCTV NVR.
Pro tip: Choose a strong password for your MWRCTV NVR to prevent unauthorized access. Avoid using simple passwords like “123456” or “password.”
Step 5: Adjust Camera Angles and Test the System
Once the NVR is set up, it’s time to adjust the camera angles and test the system:
Look at the monitor/TV to see the footage from each camera.
Adjust the camera angle by loosening the screws on the bracket, moving the camera to the desired position, and tightening the screws again.
Test each MWRCTV POE camera to make sure the footage is clear and the angle covers the desired area. Check the night vision by turning off the lights—your MWRCTV POE cameras should switch to night vision automatically, providing clear footage in low light.
Test the motion detection (if your cameras have this feature). Walk in front of each camera and make sure the NVR records the movement.
Step 6: Secure the Cables (Optional but Recommended)
To keep your setup clean and prevent cables from being damaged, use cable clips to secure the Ethernet cables to the wall or ceiling. This is especially important for outdoor cameras, where loose cables can be chewed by animals or damaged by the elements
Step 7: Access Footage Remotely (Optional)
Our MWRCTV POE security camera systems support remote footage access via APP. To set this up, follow the instructions provided with your MWRCTV NVR, which will guide you through connecting the NVR to your home’s Wi-Fi network and accessing footage through the APP.
Troubleshooting Common Issues
If you run into any problems during installation, here are some common issues and solutions:
Camera not powering on: Check if the Ethernet cable is securely plugged into both the MWRCTV POE camera and the MWRCTV NVR. Make sure the MWRCTV NVR is turned on and the POE port is working.
No footage on the monitor: Check if the HDMI cable is securely plugged in. Make sure the MWRCTV NVR is set to the correct HDMI input on the monitor.
Blurry footage: Adjust the camera angle or clean the camera lens with a soft cloth. Check if the camera is set to the correct resolution (4MP or 4K).
Final Thoughts
Installing a MWRCTV POE security camera system is easier than you think—even for beginners. With this step-by-step guide, you can set up your MWRCTV system in a few hours and start protecting your home. Our mid-range MWRCTV POE kits are designed to be DIY-friendly, with all the components and instructions you need to get started.
If you run into any issues or have questions, our customer support team is here to help. We’re committed to making sure you have a smooth installation process and a reliable security system that meets your needs.
Ready to install your MWRCTV POE security camera system? Browse our selection of MWRCTV POE kits today, and take the first step toward securing your home.


How to Install a POE Security Camera System (Step-by-Step Guide for Beginners)
You’ve decided to invest in a POE security camera system—great choice! POE (Power over Ethernet) systems are easy to install, reliable, and cost-effective, making them perfect for homeowners who want to secure their home without hiring a professional. Even if you’re not tech-savvy, you can install your own MWRCTV POE system in a few hours with this step-by-step guide. We’ll walk you through everything you need to do, from unboxing your MWRCTV POE kit to setting up your MWRCTV NVR and viewing your footage.
First, let’s gather the tools and components you’ll need. Most mid-range POE kits include all the necessary components, but it’s good to double-check before you start:
What You’ll Need (Included in Most POE Kits):
Optional tools (if not included): Drill, screwdriver, cable clips (to secure cables), and a ladder (for outdoor installation).
Step 1: Plan Your Camera Placement
Before you start installing, take a few minutes to plan where you’ll place your cameras. The goal is to cover all entry points (front door, back door, garage, windows) and any other areas you want to monitor (backyard, driveway, side of the house).
Here are some tips for camera placement:
Once you’ve planned your camera placement, mark the spots where you’ll mount the brackets.
Step 2: Mount the Camera Brackets
Now it’s time to mount the brackets for your POE cameras. Follow these steps:
Pro tip: If you’re installing cameras outdoors, use waterproof screws to prevent rust.
Step 3: Connect the POE Cameras to the NVR
This is the most important step—connecting your POE cameras to the NVR. Since POE cameras use a single Ethernet cable for power and data, this is simple:
Once the MWRCTV POE cameras are connected, the MWRCTV NVR will automatically provide power to the cameras via the Ethernet cable. You’ll know the MWRCTV POE cameras are powered on if the LED light on the camera turns on.
Step 4: Set Up the NVR
Now it’s time to set up the NVR, which will store and display your camera footage. Follow these steps:
Pro tip: Choose a strong password for your MWRCTV NVR to prevent unauthorized access. Avoid using simple passwords like “123456” or “password.”
Step 5: Adjust Camera Angles and Test the System
Once the NVR is set up, it’s time to adjust the camera angles and test the system:
Step 6: Secure the Cables (Optional but Recommended)
To keep your setup clean and prevent cables from being damaged, use cable clips to secure the Ethernet cables to the wall or ceiling. This is especially important for outdoor cameras, where loose cables can be chewed by animals or damaged by the elements
Step 7: Access Footage Remotely (Optional)
Our MWRCTV POE security camera systems support remote footage access via APP. To set this up, follow the instructions provided with your MWRCTV NVR, which will guide you through connecting the NVR to your home’s Wi-Fi network and accessing footage through the APP.
Troubleshooting Common Issues
If you run into any problems during installation, here are some common issues and solutions:
Final Thoughts
Installing a MWRCTV POE security camera system is easier than you think—even for beginners. With this step-by-step guide, you can set up your MWRCTV system in a few hours and start protecting your home. Our mid-range MWRCTV POE kits are designed to be DIY-friendly, with all the components and instructions you need to get started.
If you run into any issues or have questions, our customer support team is here to help. We’re committed to making sure you have a smooth installation process and a reliable security system that meets your needs.
Ready to install your MWRCTV POE security camera system? Browse our selection of MWRCTV POE kits today, and take the first step toward securing your home.